A site dedicated to Twichels, and things they (ok mostly me) are interested in. |
|
A site dedicated to Twichels, and things they (ok mostly me) are interested in. |
|
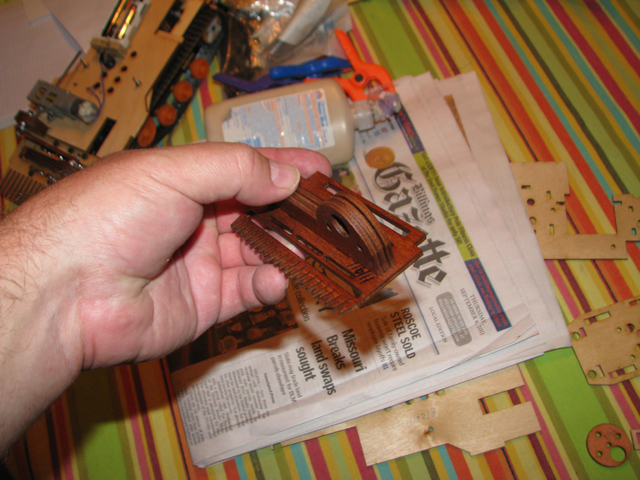
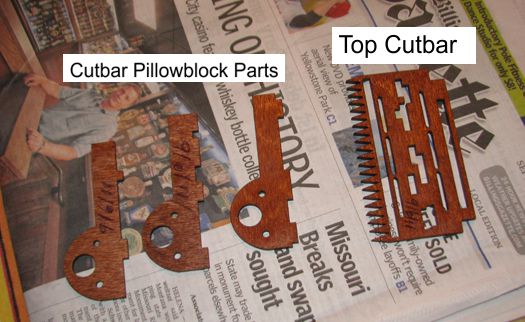
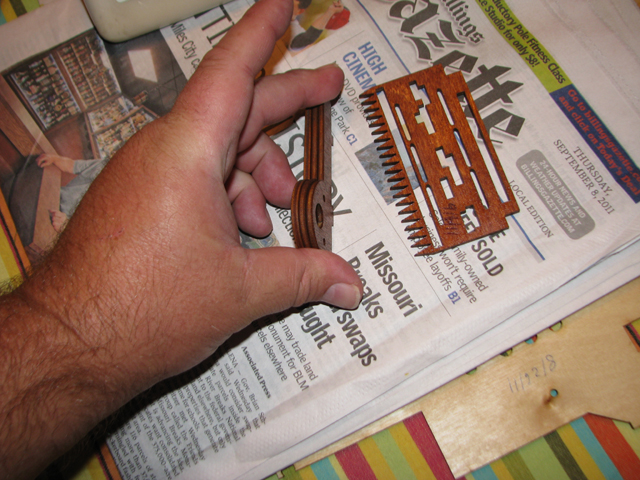
' Put the three pieces of the pillowblock in order so they will fit in the 'key' in the center of the top cutbar. Note which side the teeth point in the picture. It is possible to assemble the pillowblock as a mirror image and fit it into the backside of the topcutbar. Don't do that.
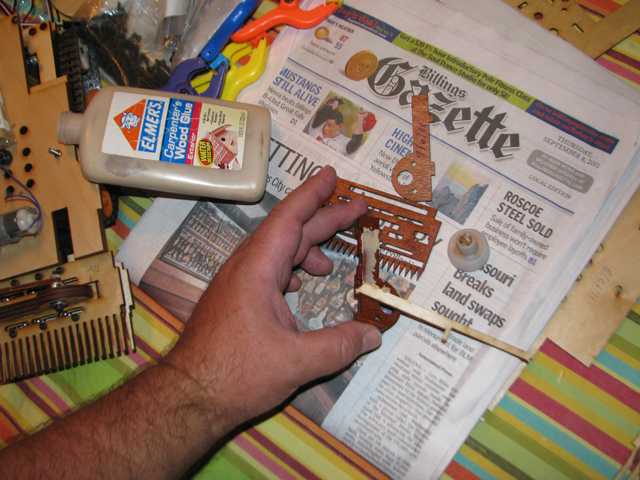
When they are lined up, dry fit the parts together. Note the position of the topcutbar, and which side of the pillowblock has the hole for the bearing relative to the cutbar. (pillowblock on top with bearing hole on left, cutbar teeth in front as in this photo)
When you have it lined out, take the pillowblock pieces and glue them together. I used carpenters wood glue.
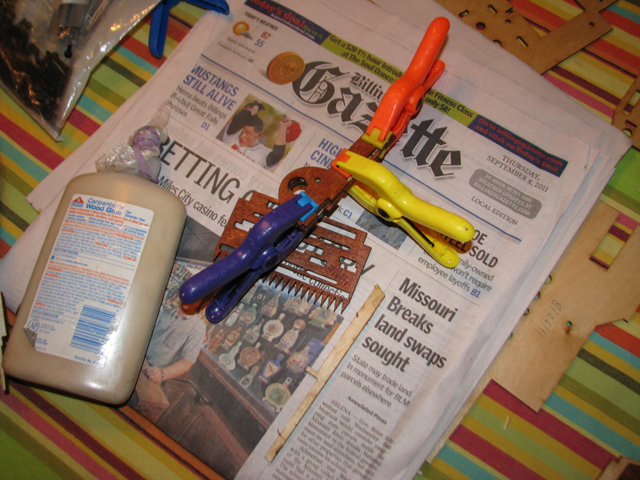
clamp it together and let the glue dry (overnight recommended). The two small holes in the pillowblock are for 3mm bolts to hold everything aligned and tight while glue dries. I did not use them when I made this pillowblock for the pictures. It would have been a better bearing mount if I had, Next time I will use them. Iif you use them for clamping don't forget to remove bolts when everything is dry, the bolts will get in the way later unless they are exactly the right (short) size.
|

Questions and comments should be mailed to the Webmaster
last updated 9-21-11
 \
\